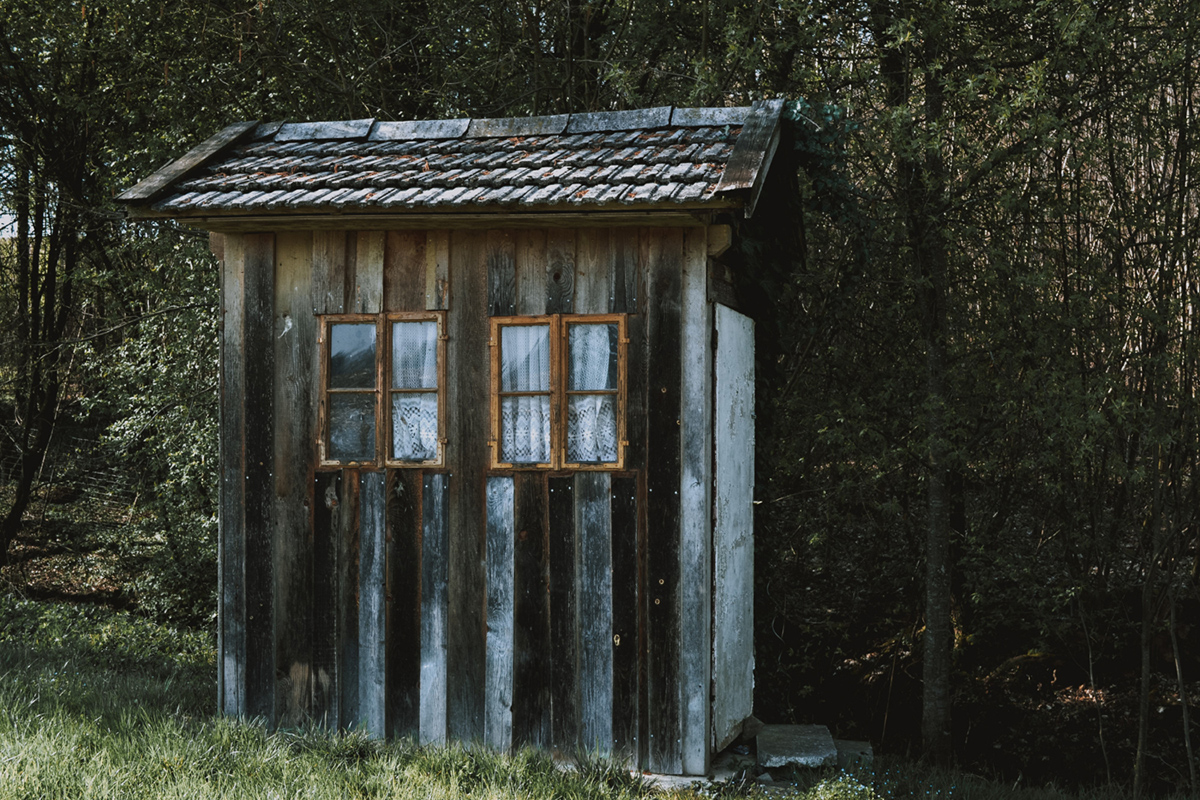
How to Tear Down a Shed: A Step-by-Step Guide

If you have an old shed that is falling apart, taking up valuable space, or just no longer serves a purpose, it may be time to tear it down. Removing a shed may seem like a daunting task, but with the right tools and techniques, it can be done relatively easily. In this step-by-step guide, we will walk you through the process of tearing down a shed so that you can reclaim your space and start a new project.
Step 1: Preparation
Before you start tearing down the shed, you need to prepare. Make sure you have all the necessary tools for the job, like a hammer, pry bar, saw, and safety equipment like gloves and goggles. Then, clear the area around the shed of any debris or obstacles that may get in the way during the demolition process. Be sure to disconnect any electricity or gas lines connected to the shed. Finally, map out a plan of attack. Decide which direction the shed will fall, clear a path for it to fall, and make sure the area is secure to prevent any injury.
Step 2: Remove the Roof
The roof is the first part of the shed that needs to come down. Begin by removing any shingles, tin, or other roofing materials from the top. Use a saw or pry bar to remove the roof joists, starting from one end to the other. As you remove the roof joists, the roof itself will become unstable and easier to remove. After the roof is removed, you can move on to the walls.
Step 3: Take Down the Walls
Start with one wall, preferably the one farthest from the direction of the shed's fall. Begin by removing any windows or doors attached to the wall. Then, use a saw or pry bar to remove the studs, starting at the top and working your way down. Once all the studs are removed, the wall should easily come down.
Repeat the process with each wall until all the walls are removed. Remember to keep a cautious eye on the direction of the shed's fall at all times.
Step 4: Dismantle the Frame
After all of the walls are removed, you can move on to the frame of the shed. Use a saw or pry bar to remove any crossbeams, making sure to support any weight-bearing structures. Once the crossbeams are removed, the frame should be easy to take apart.
Step 5: Cleanup
Once the shed is completely dismantled, the last step is to clean up the area. Gather all debris and place it in your dumpster rental in Kissimmee. Be sure to double-check the area for any debris or nails that may have been missed.
Conclusion
Tearing down a shed may seem like a daunting task, but with the right knowledge and tools, it can be done easily and safely. Remember to plan out the project, take your time, and be cautious at all times. If you need some assistance with the debris removal, contact Wasteville today for a free estimate on dumpster rental in Kissimmee. We hope you found this guide helpful and wish you luck on your shed demolition journey!