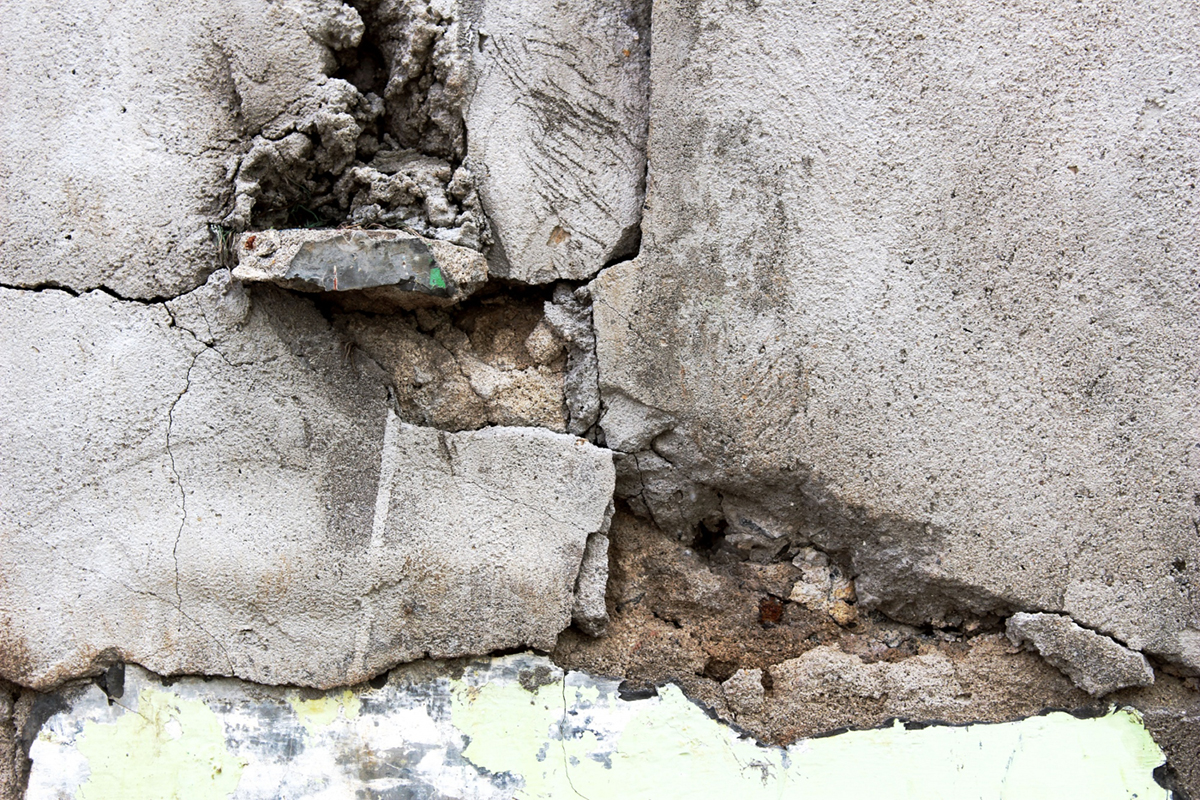
Your DIY Guide to Breaking up Concrete

Concrete can be an incredibly durable material, lasting for decades without showing much wear and tear. However, there may come a time when you need to break up concrete at your home or business. Whether you're replacing a driveway or sidewalk, taking out a concrete slab, or making room for a new construction project, breaking up concrete can be a messy and time-consuming task. But with the right tools and techniques, you can do it yourself without calling in the professionals. In this DIY guide, we'll take you through the steps you need to know to break up concrete safely and efficiently.
Step 1: Assess the Size and Scope of Your Project
Before you start breaking up concrete, you need to evaluate the size and scope of your project. This will help you determine the tools and equipment you will need, as well as the amount of time and effort required. Factors to consider when assessing your project include the thickness and hardness of the concrete, whether it is reinforced with metal rebar, and the size and depth of the area to be broken up.
Step 2: Gather the Right Tools and Equipment
Once you have assessed your project, you need to gather the tools and equipment you will need. Depending on the size of your project, you may need a sledgehammer, jackhammer, demolition hammer, or other heavy-duty tools. You will also need safety gear, including gloves, safety glasses, a dust mask, and ear protection. Be sure to read the manufacturer's instructions before using any power tools, and always follow safety guidelines to avoid injury.
Step 3: Start Breaking up the Concrete
The first step in breaking up concrete is to create a starting point. You can do this by drilling holes in the concrete surface with a masonry drill bit. Once you have a starting point, you can use your sledgehammer or demolition hammer to crack the concrete into smaller pieces. A jackhammer can be used if you need to break up larger areas of concrete. Work slowly and methodically, breaking up small sections of concrete at a time. Be sure to wear safety gear and avoid breathing in dust particles that may be released during the process.
Step 4: Remove the Broken Concrete
Once you have broken up the concrete into smaller pieces, it's time to remove it from the site. Depending on the size of your project, you may need to rent a dumpster or hire a waste removal service to dispose of the broken concrete. Be sure to follow local regulations and guidelines when disposing of concrete waste, as it can be heavy and difficult to transport.
Step 5: Clean up the Site
Finally, once all the concrete has been removed, it's important to clean up the site. This may involve sweeping up debris or even power washing the area to remove any remaining dust or debris. Take care to dispose of all waste materials properly and restore the site to its original condition.
Conclusion
Breaking up concrete can be a daunting task, but with the right tools and techniques, it's a DIY project that anyone can tackle. Whether you're removing a small section of concrete or breaking up an entire slab, following these steps can help ensure a safe and efficient demolition process. As always, be sure to wear proper safety gear, follow all manufacturer's instructions, and adhere to local regulations and guidelines when disposing of waste materials. With a little elbow grease and some determination, you can break up concrete like a pro and get one step closer to your construction or renovation goals. Remember to take all necessary precautions and always consider hiring a professional if you are unsure. Contact Wasteville Dumpster & Demolition Services today if you need dumpster rentals in Kissimmee!